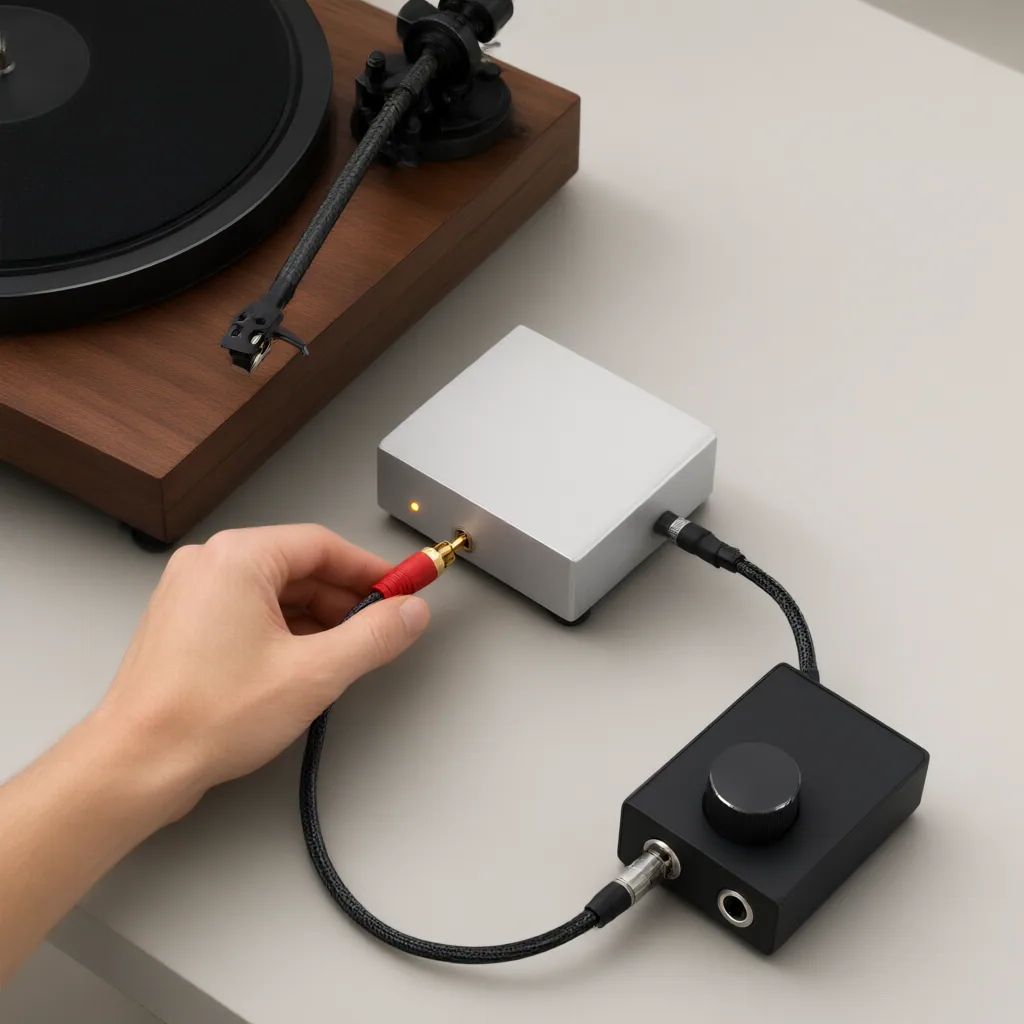
A turntable can feed a computer cleanly and safely, but only if the signal chain is set up in the right order. The main point to understand is that a record player does not usually output the same kind of signal as a CD player, mixer, or audio interface line input expects. Once you account for that difference, recording vinyl to a computer becomes a straightforward audio-routing task.
Start with the phono signal
Most turntables send out phono level audio from the cartridge. This signal is much quieter than standard line level, and it also needs RIAA equalization to restore the tonal balance used when records are cut. If you connect a phono output straight into a computer input, the result is often weak, thin, noisy, or distorted.
That is why the first question is simple: does your turntable already have a built-in phono preamp? If it does, it may offer a switch marked `phono/line` or a dedicated line output. In that case, you can send the line-level output to your recording device. If it does not, you need an external phono preamp between the turntable and the computer.
The correct connection order
In a typical setup, the signal path looks like this:
`turntable -> phono preamp -> audio interface or line input -> computer`
If the turntable includes its own preamp and line output, the chain becomes shorter:
`turntable with line output -> audio interface or line input -> computer`
The computer itself does not convert the analog signal directly unless it has a suitable audio input stage. In many cases, the more reliable option is a USB audio interface with line inputs. That gives you analog-to-digital conversion designed for audio work, along with better level control and fewer noise problems than a basic built-in sound input.
Choosing the right input
Use a line input, not a microphone input, unless the device documentation explicitly says it can accept line-level stereo sources. Microphone inputs add gain for much weaker signals and can overload easily. They may also be wired for headsets or speech rather than music capture.
If your computer only offers a combined headset jack, an external USB interface is usually the cleaner path. It separates playback from recording, gives you more predictable metering, and avoids guessing how the operating system is treating the input.
Setting levels for a clean transfer
Before recording a full side, play a louder section of the record and watch the input meters in your recording software or interface control panel. Aim for healthy level without hitting the maximum. If peaks are clipping, reduce the input gain. If the signal is extremely low, check that the preamp stage is present and that the turntable is not still set to phono output when the next device expects line level.
Hum is another common issue. Keep signal cables tidy, connect the turntable ground wire if your preamp requires one, and avoid running audio cables directly alongside power supplies. If a persistent buzz appears, test one stage at a time so you can tell whether the problem starts at the turntable, the preamp, the interface, or the computer.
A practical recording workflow
Clean the record, verify stylus condition, and confirm left-right channels are both present before you begin. Record at a conservative level, then split tracks, trim silence, and apply only minimal processing unless you have a clear reason to do more. Many listeners prefer to keep surface noise and tonal character natural rather than over-correcting the transfer.
For most home archiving or listening projects, the best results come from getting the signal flow right first. A stable turntable, proper phono preamplification, a clean line-level path, and careful analog-to-digital conversion matter more than aggressive software fixes later. When those stages are in order, transferring vinyl to a computer becomes less about guesswork and more about preserving the record in a form you can organize, edit, and play back easily.