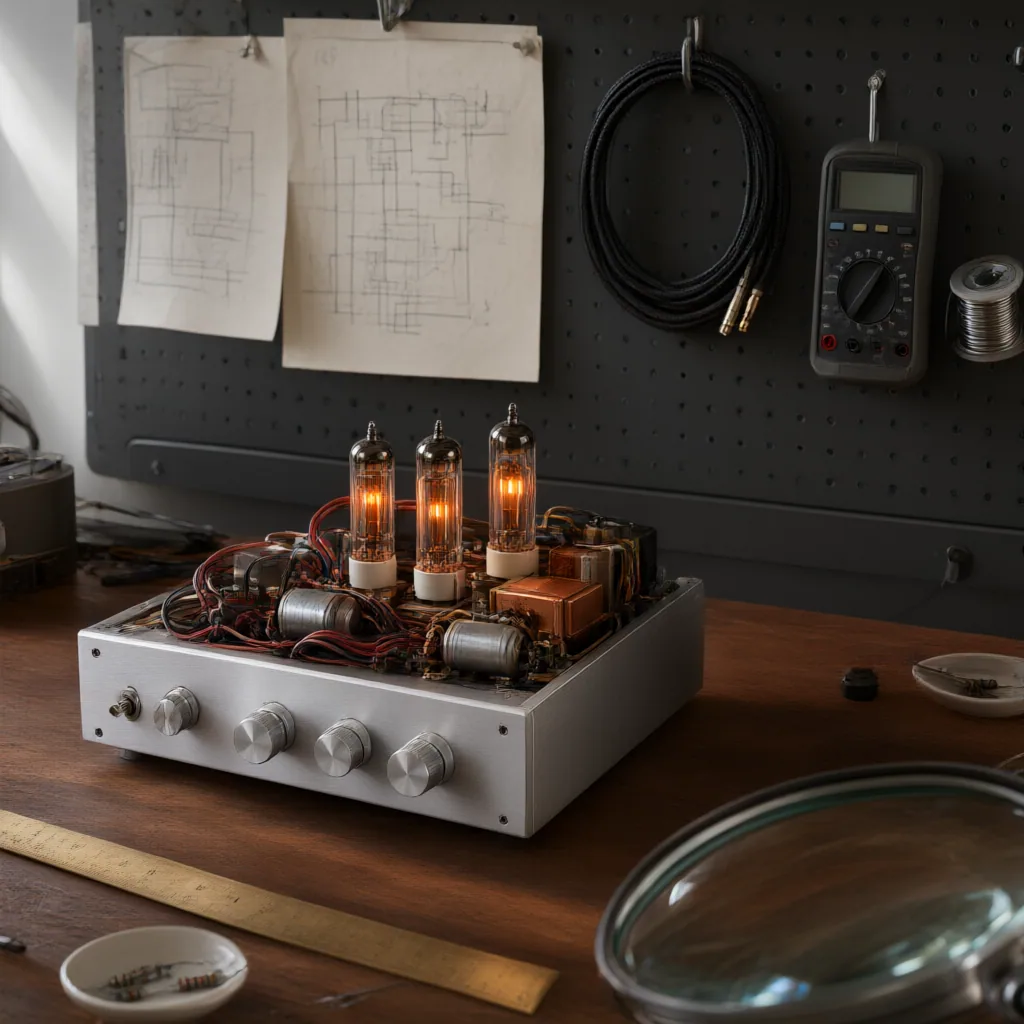
Practical DIY audio is rewarding for listeners who want to understand how sound systems work, make thoughtful upgrades, and build confidence with real components instead of treating equipment as a black box. This learning path is designed for curious beginners, returning hobbyists, and music lovers who want a sensible route into hands-on audio without chasing hype or expensive detours.
Start With Listening Goals and Signal Basics
Before picking up a soldering iron, define what you want to improve. Some readers care about cleaner headphone playback, others want to build a passive accessory, diagnose noise in a stereo setup, or understand why one source chain sounds different from another. A clear goal helps you separate useful projects from distracting ones.
The best first step is learning the signal path: source, conversion, amplification, and transducer. Once that path makes sense, common terms such as impedance, line level, gain, grounding, and shielding become much easier to place in context. DIY audio becomes less about isolated tricks and more about understanding where a change actually matters.
Build Safe Workshop Habits Early
Audio projects often look simple on the surface, but even small mistakes can damage parts, introduce noise, or create safety issues. A beginner-friendly bench should include a temperature-controlled soldering iron, basic hand tools, a multimeter, good lighting, and ventilation suitable for electronics work. Just as important is the habit of slowing down: check polarity, confirm values, inspect joints, and document each change before moving on.
If a project involves power supplies, mains voltage, or large capacitors, treat it as advanced work. Many satisfying DIY audio tasks stay well within safer territory, including cable checks, connector repair, enclosure work, passive circuits, and low-voltage signal experiments.
Choose Projects That Teach One Skill at a Time
The fastest way to learn is to work on projects with a narrow purpose. A simple interconnect test rig, an input selector, a basic passive attenuator, or a repair involving worn connectors can teach soldering quality, continuity testing, mechanical stability, and noise control. These are skills that carry forward into more ambitious builds.
As confidence grows, the next layer is diagnosis. Learn to trace hum, identify loose grounds, recognize channel imbalance, and compare component substitutions without assuming every change is automatically an upgrade. In DIY audio, careful observation matters more than dramatic claims. A well-executed modest project usually teaches more than a complex build assembled too quickly.
Learn the Topics That Shape Real Results
A useful DIY audio education usually branches into four recurring themes. The first is connectivity: knowing the difference between analog and digital paths, balanced and unbalanced connections, and where adapters solve problems or create them. The second is component behavior: resistors, capacitors, switches, jacks, and wiring choices each affect reliability, fit, and sometimes measured performance.
The third theme is enclosure and layout practice. Cable routing, grounding strategy, shielding, and physical spacing can influence noise and serviceability more than cosmetic parts choices. The fourth is evaluation. Trust repeatable listening, simple measurements when available, and notes taken under consistent conditions. That approach keeps the hobby grounded and makes future troubleshooting far easier.
Move From Curiosity to a Personal Reference System
As you explore, keep a notebook or digital log of parts used, circuit sketches, wiring colors, measurement results, and listening impressions. DIY audio becomes much more manageable when you build your own reference system instead of relying on memory or scattered advice. Over time, that record helps you spot patterns such as recurring grounding mistakes, unreliable connectors, or project types that match your skills and listening priorities.
A curated path also means knowing when not to proceed. If a modification cannot be explained clearly, reversed safely, or checked in a meaningful way, it may not be the right next step. Good DIY audio practice is not about doing everything yourself. It is about learning enough to make better decisions, complete careful work, and enjoy the connection between music, electronics, and craft.
Where This Path Leads Next
Readers who stay with the subject usually branch in one of three directions: system setup and optimization, component-level electronics work, or recording and playback experiments that connect listening with production. All three benefit from the same foundation: patient observation, respect for safety, and a willingness to test assumptions. With that base in place, DIY audio stops feeling mysterious and starts becoming a practical, durable skill.