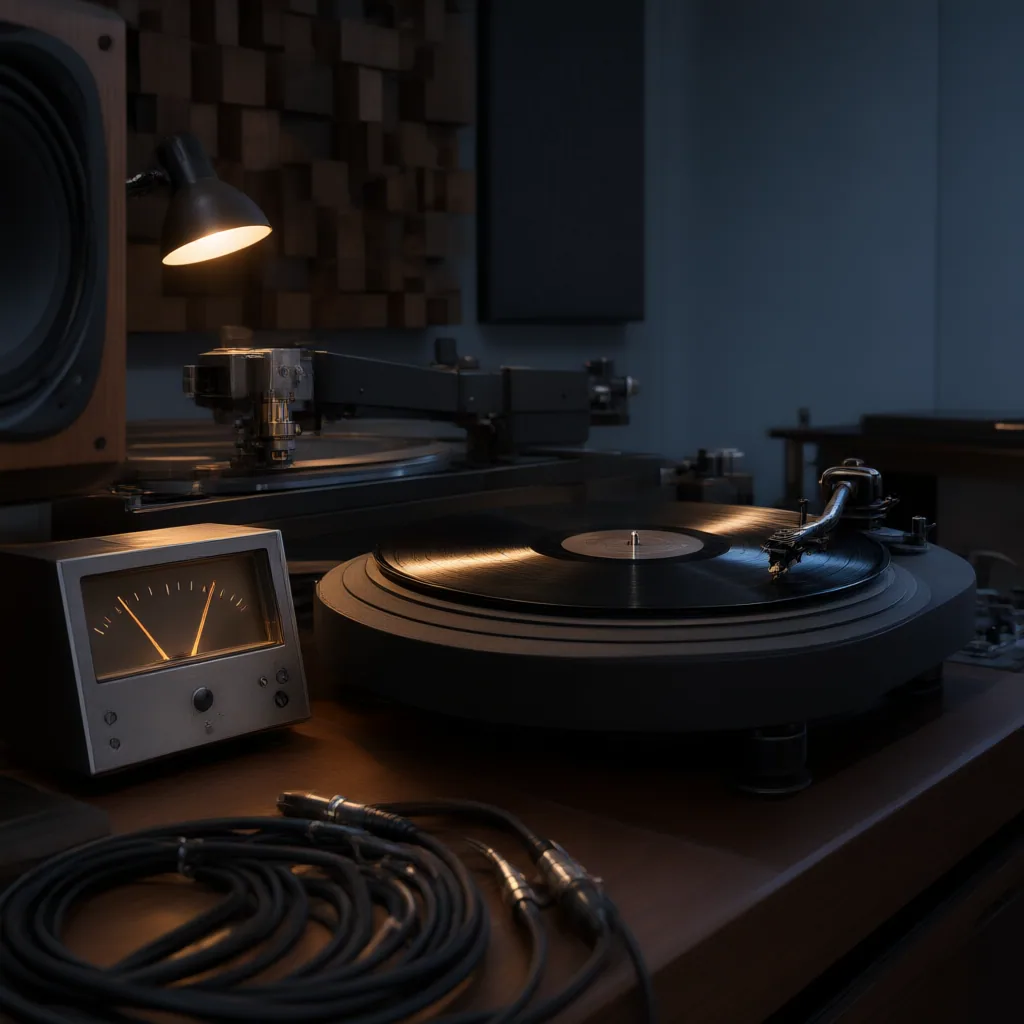
Vinyl rewards musical decisions that translate cleanly to a physical groove. If you are preparing a mix for a lacquer cut, the goal is not to make it look loud on a meter. The goal is to deliver stable low end, believable width, controlled sibilance, and enough headroom for the cutting engineer to work without fighting the source.
Why phase matters before anything else
Phase problems often hide inside otherwise good mixes. Two mics on a snare, layered synth bass, stereo room tracks, chorused guitars, and widening plugins can all create partial cancellation. On speakers this may sound vaguely soft; on vinyl it can become a more serious tracking issue, especially when bass energy differs too much between left and right channels.
Start by listening in mono. If the kick loses weight, the vocal shifts, or the center image seems to hollow out, inspect the arrangement before reaching for mastering tools. Time alignment, polarity checks, and simpler stereo choices usually help more than aggressive correction later. Low frequencies are especially important: keeping the deepest bass close to mono supports groove stability and reduces unnecessary vertical stylus movement.
Build the master from the mix outward
A vinyl master usually benefits from restraint. Heavy limiting can flatten transients and make the record feel smaller rather than bigger. Excessive high-frequency boost can also exaggerate cymbals, vocal ess sounds, and distortion on inner grooves. Instead of chasing maximum level, leave space for movement and contrast.
Useful preparation steps include checking:
– tonal balance across the full side – low-end consistency from track to track – harsh upper mids and sibilance – overly wide stereo effects below the bass region – clipped peaks, distorted fades, or noisy edits
Sequencing matters too. Louder, brighter, denser material is often easier near the outer part of a side, where groove velocity is higher. Delicate songs can work well later, but very bright or crowded endings may reveal more distortion as the stylus approaches the center.
What to deliver for a vinyl cut
The cutting stage works best when the source is organized and clearly documented. Export the highest practical resolution available from the project, avoid sample-rate conversions unless necessary, and make sure fades, spacing, and track order are intentional. If the release has a digital version and a vinyl version, do not assume they should share exactly the same master.
It also helps to provide notes on anything unusual: intentional distortion, hidden transitions, locked-groove ideas, or tracks that rely on extreme stereo imaging. Clear communication prevents a cutting decision from accidentally undoing an artistic choice.
Final checks that save time and test pressings
Before delivery, listen through the complete side in sequence, not just isolated songs. Watch for jumps in brightness, bass build-up, or side lengths that may force compromises. Compare headphones and speakers, then do one more mono pass. If a de-esser or elliptical EQ is solving a problem, verify that it is not dulling the entire mix.
Vinyl preparation is less about secret processing and more about disciplined translation. A strong result comes from a mix with stable phase relationships, a master that preserves dynamics, and practical decisions about bass, width, and sequencing. When those fundamentals are in place, the record has a much better chance of sounding confident, balanced, and easy to track on real playback systems.