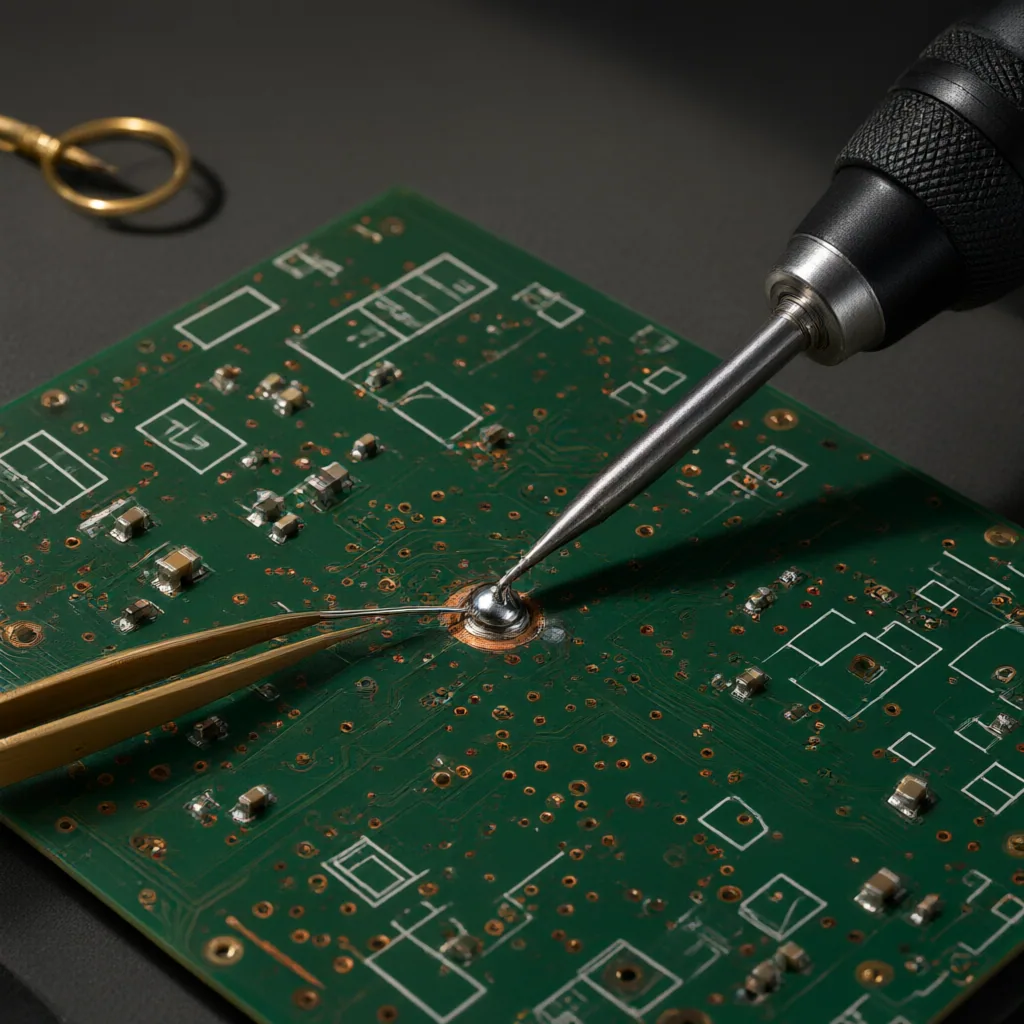
Good PCB soldering is less about speed than control. If you are assembling a small kit, replacing a damaged part, or learning board-level repair, the goal is the same: make a clean electrical connection without overheating the pad, trace, or component body. A steady setup, the right tip, and a repeatable inspection habit matter more than expensive gear.
What a reliable solder joint looks like
A sound joint wets both the component lead and the copper pad, forming a smooth, even fillet instead of a dull blob sitting on top of the board. On through-hole parts, solder should flow around the lead and anchor it without flooding neighboring pads. On fine-pitch or compact boards, less solder is often better, because excess material increases the chance of bridges and difficult rework.
Tools that make the work easier
A temperature-controlled iron, suitable solder, flux, tweezers, side cutters, and magnification cover most beginner and intermediate tasks. Ventilation is not optional: flux fumes and repeated heating deserve the same caution as any other bench process. Keep a brass wool or damp sponge nearby for tip cleaning, and use a stable light source so you can judge wetting, shine, and spacing clearly.
Heating the joint, not just the solder
The usual sequence is simple: place the iron so it touches both pad and lead, allow the joint to come up to temperature, then feed solder into the joint rather than onto the tip. Once the solder has flowed, remove the solder wire first and the iron second. This short pause helps the alloy settle into the joint instead of forming a cold or uneven surface. If the solder beads up or refuses to spread, oxidation, contamination, or insufficient heat is usually the cause.
Avoiding common PCB damage
Printed circuit boards are easy to lift, scorch, or delaminate if you linger too long with the iron. Work quickly, use fresh flux when reworking an older pad, and avoid repeated scraping unless you are intentionally cleaning a damaged area. If a trace looks fragile, support the board well and minimize mechanical stress while the joint cools. On densely packed assemblies, protect nearby plastic parts and watch for solder bridges under connectors or between narrow pins.
Inspection and next-step checks
Before powering anything, inspect every joint under magnification. Look for bridges, incomplete wetting, cracked fillets, or pads that have shifted from the substrate. A continuity check can confirm obvious connections, but visual inspection remains the first filter for most mistakes. With practice, PCB soldering becomes a disciplined bench skill: clean surfaces, controlled heat, enough flux, and a final review before the board returns to service.