Microphone polar patterns describe the directions from which a microphone is most sensitive. That directional behavior helps determine how strongly a recording captures the wanted source, surrounding ambience, room reflections, and background noise—and where the microphone and sound sources should be placed.
What a Microphone Polar Pattern Shows
A polar pattern maps a microphone’s directional sensitivity around its capsule. Although diagrams are commonly shown as flat shapes, the pickup area exists in three-dimensional space. Sound arriving from a sensitive direction is captured more strongly than sound arriving near a rejection zone.
This geometry changes the balance between direct sound and the room. A pattern sensitive behind or beside the microphone may capture reflections, appliances, keyboards, or other sounds in those directions. A rejection zone can reduce an unwanted source when the microphone is oriented deliberately.
Treat the pattern name as a starting point, not a complete prediction. Microphones with the same general label can differ in pickup range and behavior, so placement should be checked with the specific microphone being recorded.
How Common Polar Patterns Change What You Record
An omnidirectional microphone captures sound from all directions. It can work when surrounding voices or ambience belong in the recording, but it offers less directional help when the goal is to exclude room noise.
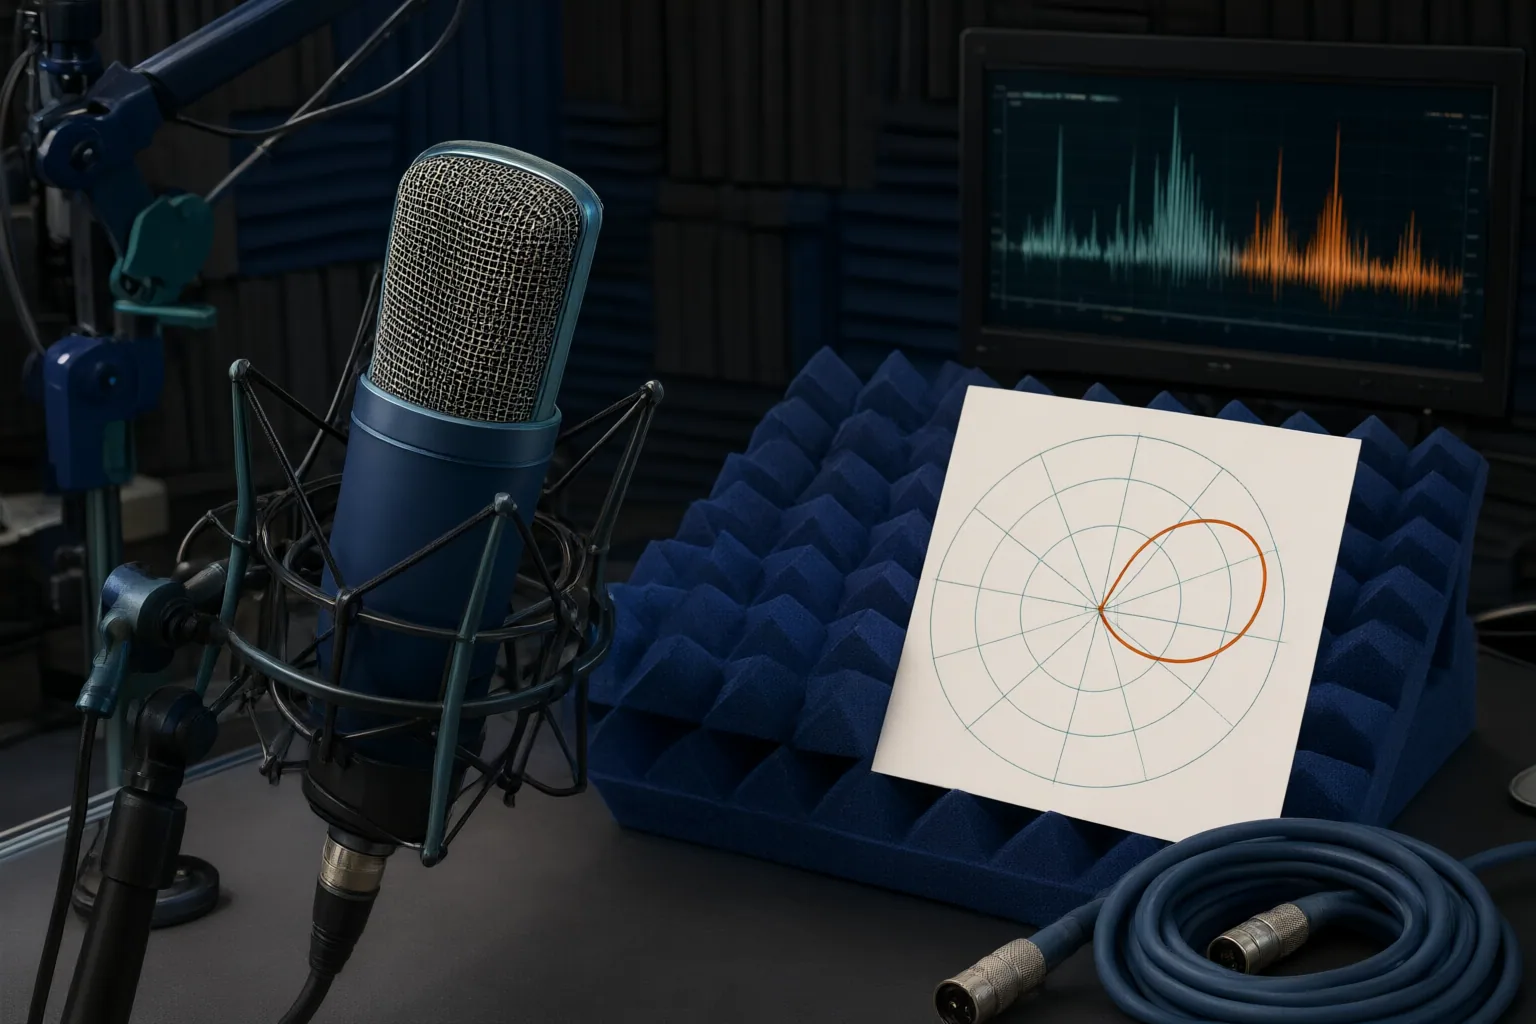
A cardioid microphone is primarily sensitive at the front and least sensitive toward the rear. Pointing its front toward the wanted source and its rear toward an unwanted source can improve separation. This makes cardioid useful for focused recording, although sound arriving off axis may change in tone as well as level.
Supercardioid and hypercardioid patterns provide tighter forward pickup than standard cardioid, but both have rear pickup lobes. Their geometry means that directly behind the microphone is not necessarily the best place for noise; the useful rejection areas sit toward the sides.
A figure-eight, or bidirectional, microphone captures sound at the front and rear while rejecting sound from the sides. It can accommodate two people facing opposite sides of one microphone if unwanted sounds remain near the side rejection zones. For a solo source, however, its rear lobe can admit reflections or equipment noise behind the microphone.
Placement Choices for Solo Voices, Groups, and Noisy Rooms
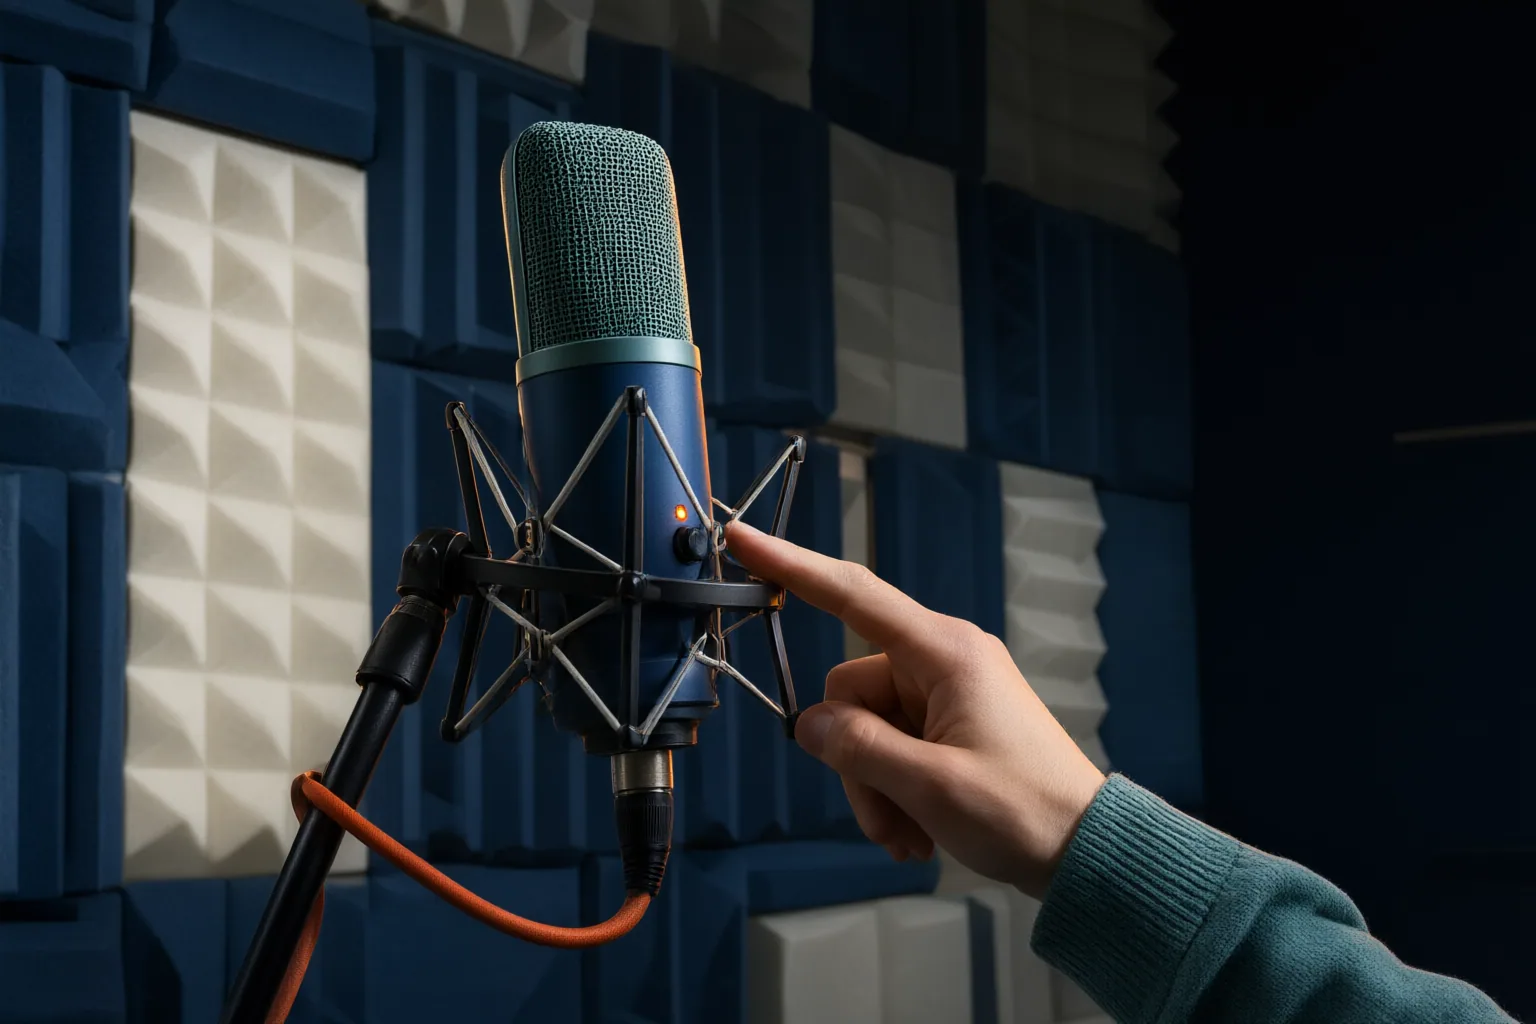
Start by identifying where the wanted sound and competing sounds originate. For a solo voice with a cardioid microphone, keep the speaker in front and place a troublesome sound toward the rear. Moving the microphone closer can reduce room sound relative to the voice; the supplied guidance also recommends a slight angle to help minimize plosives and room noise. Keep the speaker near the intended axis because moving off axis can affect clarity, level, and tonal consistency.
Do not apply the cardioid placement rule unchanged to every directional pattern. With supercardioid or hypercardioid, account for the rear lobe and move unwanted sound toward a side rejection area rather than automatically placing it directly behind the microphone. With figure-eight, use the side nulls deliberately and check what the rear lobe faces.
For several people gathered around one microphone, omnidirectional pickup is an option because it remains sensitive around the microphone. The tradeoff is greater pickup of the surrounding room. A single cardioid microphone may reproduce people outside its forward area poorly. For a two-person setup, separate cardioid microphones are another documented option, allowing each speaker to address a microphone’s sensitive front area.
Whatever the arrangement, monitor a short test. Listen for room reflections, equipment noise, inconsistent voices, and changes that occur when speakers turn or lean away from the intended axis.
Conclusion
Choose a polar pattern by considering the number and position of speakers, whether room ambience is desirable, and where unwanted sounds originate. Then orient the microphone according to its sensitive areas and rejection zones, remembering that models sharing a pattern label may not behave identically. Before the full session, map the sound sources in the room and make a monitored test recording from the intended microphone position.
Disclosures and limitations
- This article was prepared with AI assistance using only the attributed research sources supplied for the topic.
- No products are recommended, and no affiliate relationship or purchasing incentive is represented.
Related reading
- Recording Guides for Musicians, Podcasters, and Producers
- MacBook for Recording: What Musicians and Podcasters Should Evaluate
Sources
- Microphone polar patterns explained — WebcamMicTest
- FIFINE Podcast Microphones — FIFINE Official
- Microphone Polar Patterns Explained — MicroPicked — micropicked.com
- What are Microphone Polar Patterns — And Why They Matter — StudioBinder