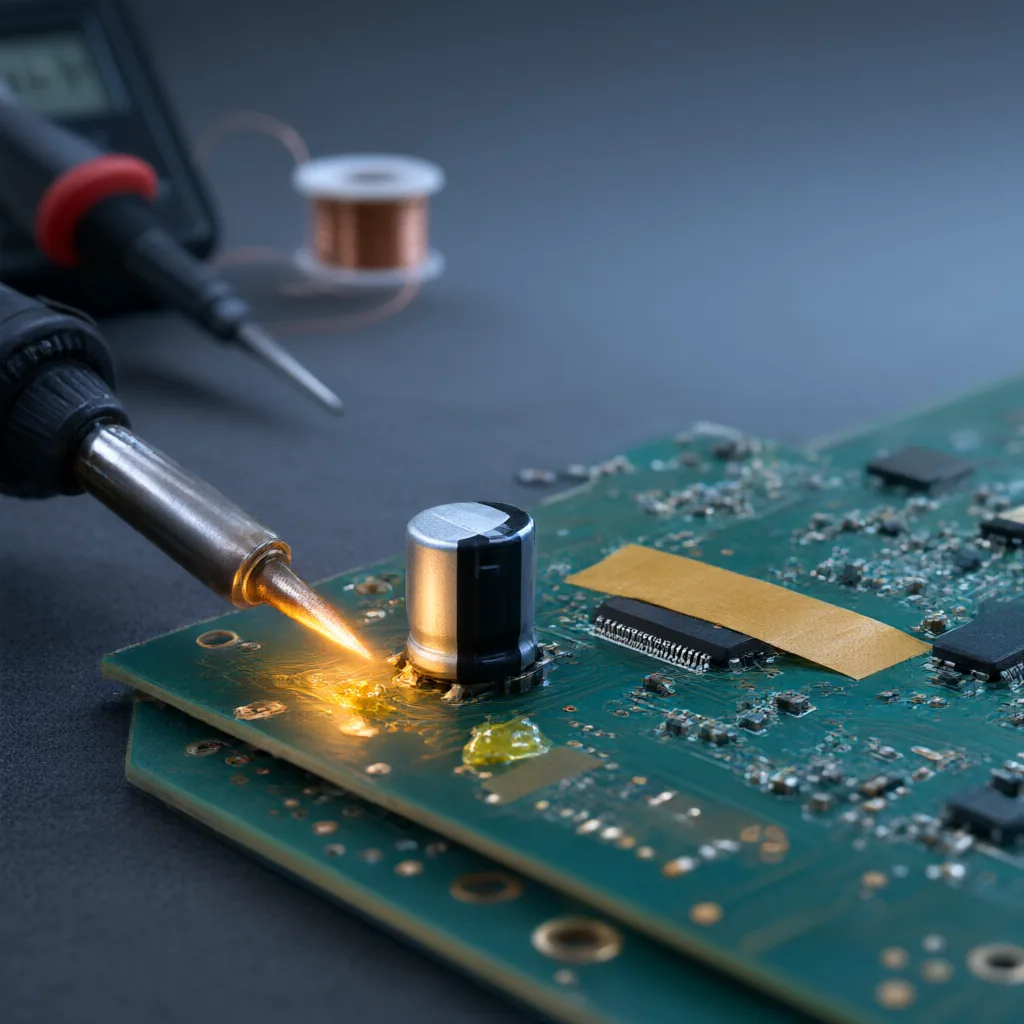
A failed SMD electrolytic capacitor can leave a board unstable, noisy, or completely dead, but the repair is often manageable if you work slowly and protect the surrounding pads. This guide is for readers who already have basic soldering experience and want a careful process for replacing a surface-mount electrolytic capacitor without turning a small fault into lifted copper, broken traces, or new polarity mistakes.
Confirm the Part Before You Touch the Board
Start by identifying the capacitor’s value, voltage rating, package style, and polarity marking. The replacement should match capacitance and meet or exceed the original voltage rating while fitting the available footprint and height. On many boards, the negative side is marked on the can, while the board itself may indicate the positive pad or use a shaded outline. Do not rely on memory once heat is involved; take a clear photo before removal so orientation can be checked during installation.
If the original component has leaked, treat the area as both a repair and a cleanup job. Electrolyte residue can creep under nearby parts, dull solder joints, and encourage further corrosion. A replacement installed onto a contaminated pad may still fail electrically even if the soldering looks acceptable.
Prepare the Work Area and Tools
Use a stable bench, good lighting, fine tweezers, flux, solder wick, isopropyl alcohol, lint-free swabs, and a soldering iron with a small tip. Hot air can help on stubborn parts, but it also raises the risk of disturbing nearby components if airflow and temperature are not controlled. Ventilation matters, especially when cleaning old residue and reheating aged boards.
Before applying heat, disconnect power completely and make sure any large capacitors elsewhere in the device are safely discharged. Thin pads on older consumer electronics can separate from the board quickly if they are twisted or overheated.
Remove the Old Capacitor Without Tearing Pads
Add a small amount of fresh solder and flux to the existing joints. This improves heat transfer and usually makes removal easier. For two-terminal SMD electrolytics, alternate heat from one side to the other while applying gentle upward pressure with tweezers. The goal is to let the solder release; never pry the part off the board.
If the capacitor has already ruptured or the can is loose, remove remaining material carefully and avoid scraping the pad surface. Once the component is off, inspect both terminals. A darkened pad, missing solder mask, or uneven copper edge can indicate heat stress or corrosion damage that needs attention before reassembly.
Clean and Inspect the Footprint
Wick away old solder until the pads are flat enough for the new part to sit evenly. Then clean the area with isopropyl alcohol and repeat until flux residue and leaked electrolyte are gone. Inspection is not optional here: look for softened adhesive, broken traces leading away from the pads, and corrosion around nearby resistors or IC pins.
If a pad is partially weakened but still attached, reduce rework and avoid repeated reheating. If a pad is gone entirely, the repair becomes a trace-restoration job rather than a simple capacitor swap.
Install the New Capacitor with Polarity in Mind
Tin one pad lightly, position the new capacitor with tweezers, and tack that side first. Once alignment is correct, solder the second side, then return to the first joint if needed. The capacitor body should sit level, with both terminals fully wetted and no solder bridging to adjacent copper.
Polarity errors are one of the easiest mistakes to make and one of the most destructive after power-up. Check the board marking, your reference photo, and the capacitor sleeve before calling the job finished.
Final Checks Before Powering Up
Clean away excess flux, inspect the joints under magnification, and verify that no nearby component shifted during heating. If you have a meter, check for obvious shorts around the repaired area and confirm continuity where the pad connects into the circuit. On first power-up, watch for heat, smell, or unstable behavior rather than assuming a successful repair from appearance alone.
A good SMD capacitor replacement is less about speed than control: correct part selection, clean pads, careful heat, and a final inspection that respects how small faults on a circuit board often hide in plain sight.