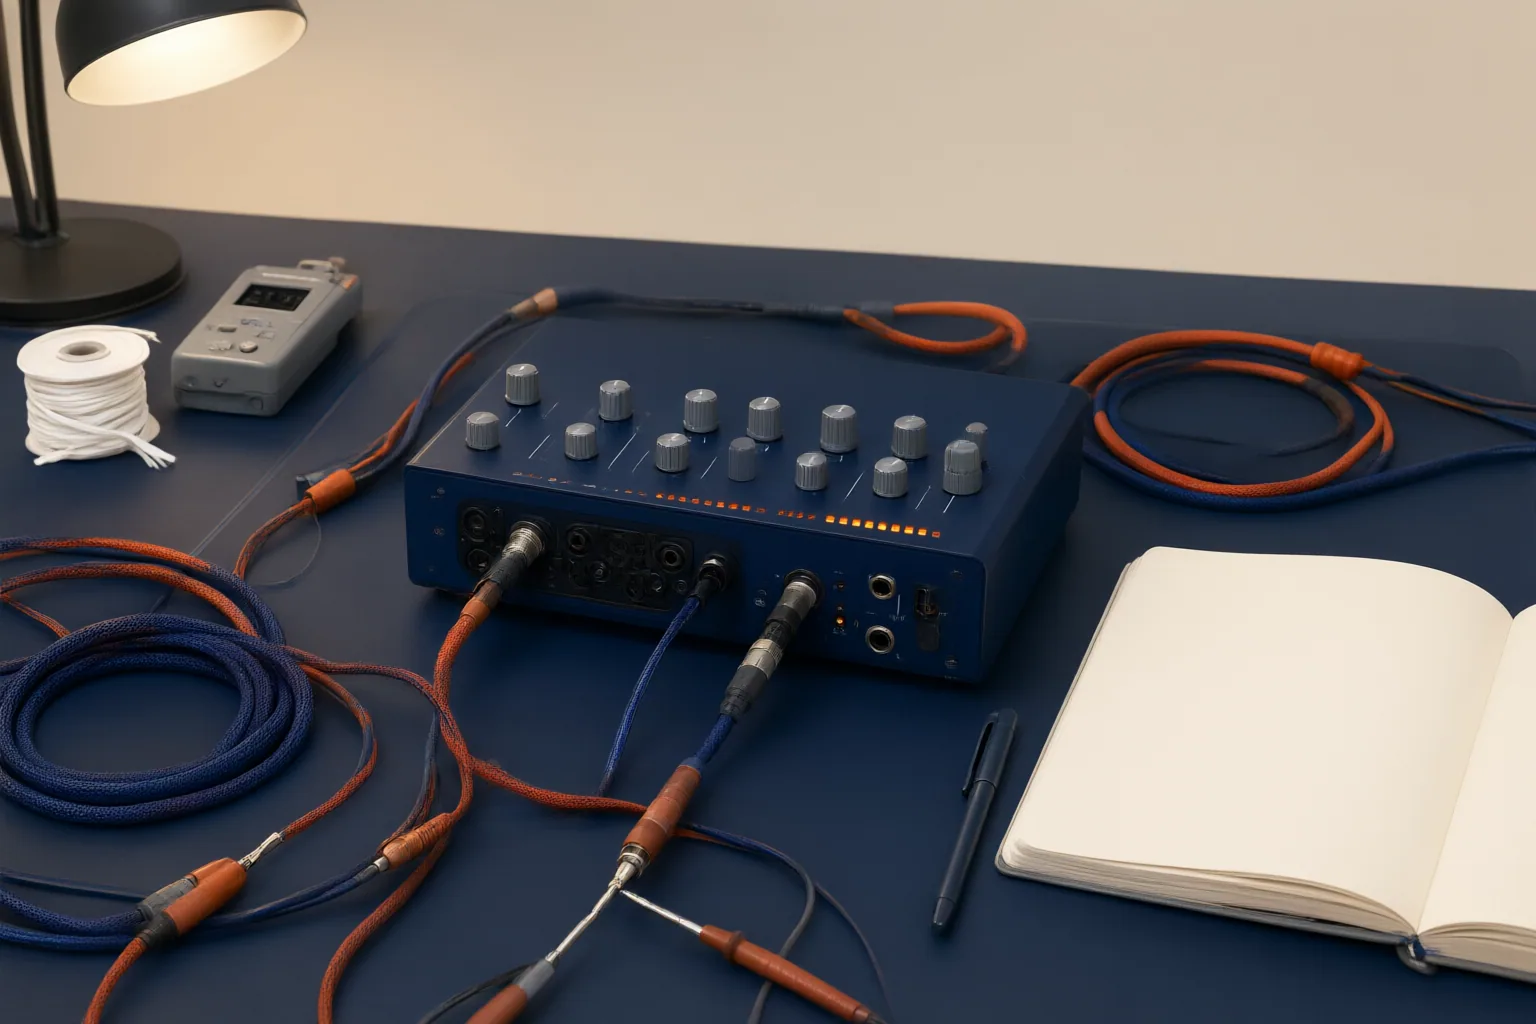
To narrow down hum or buzz, verify the selected Windows output and physical connections first. Then check audio enhancements, cable routing, nearby sources of electromagnetic interference, and whether the analog connection is balanced throughout.
Start With a Controlled Troubleshooting Sequence
Hum or buzz does not have one universal cause, so treat troubleshooting as a process of elimination. Keep the setup otherwise unchanged and adjust one variable at a time. This makes it easier to associate a change in the noise with the setting, connection, or cable path you just examined.
Begin at the computer. Confirm that Windows is sending audio to the intended output device, especially if the system has several available outputs. Next, inspect the physical path: cables, ports, device power, mute states, and volume controls. These basic checks can reveal configuration or connection problems before you investigate analog interference.
If the selected output and physical controls appear correct, continue through the path in an orderly way. The available sources support moving from Windows configuration and connections to cable routing, nearby electromagnetic sources, and connection balance. This sequence narrows the possibilities, but it does not prove that every hum or buzz originates in one of these areas.
Check Windows Settings and Physical Connections
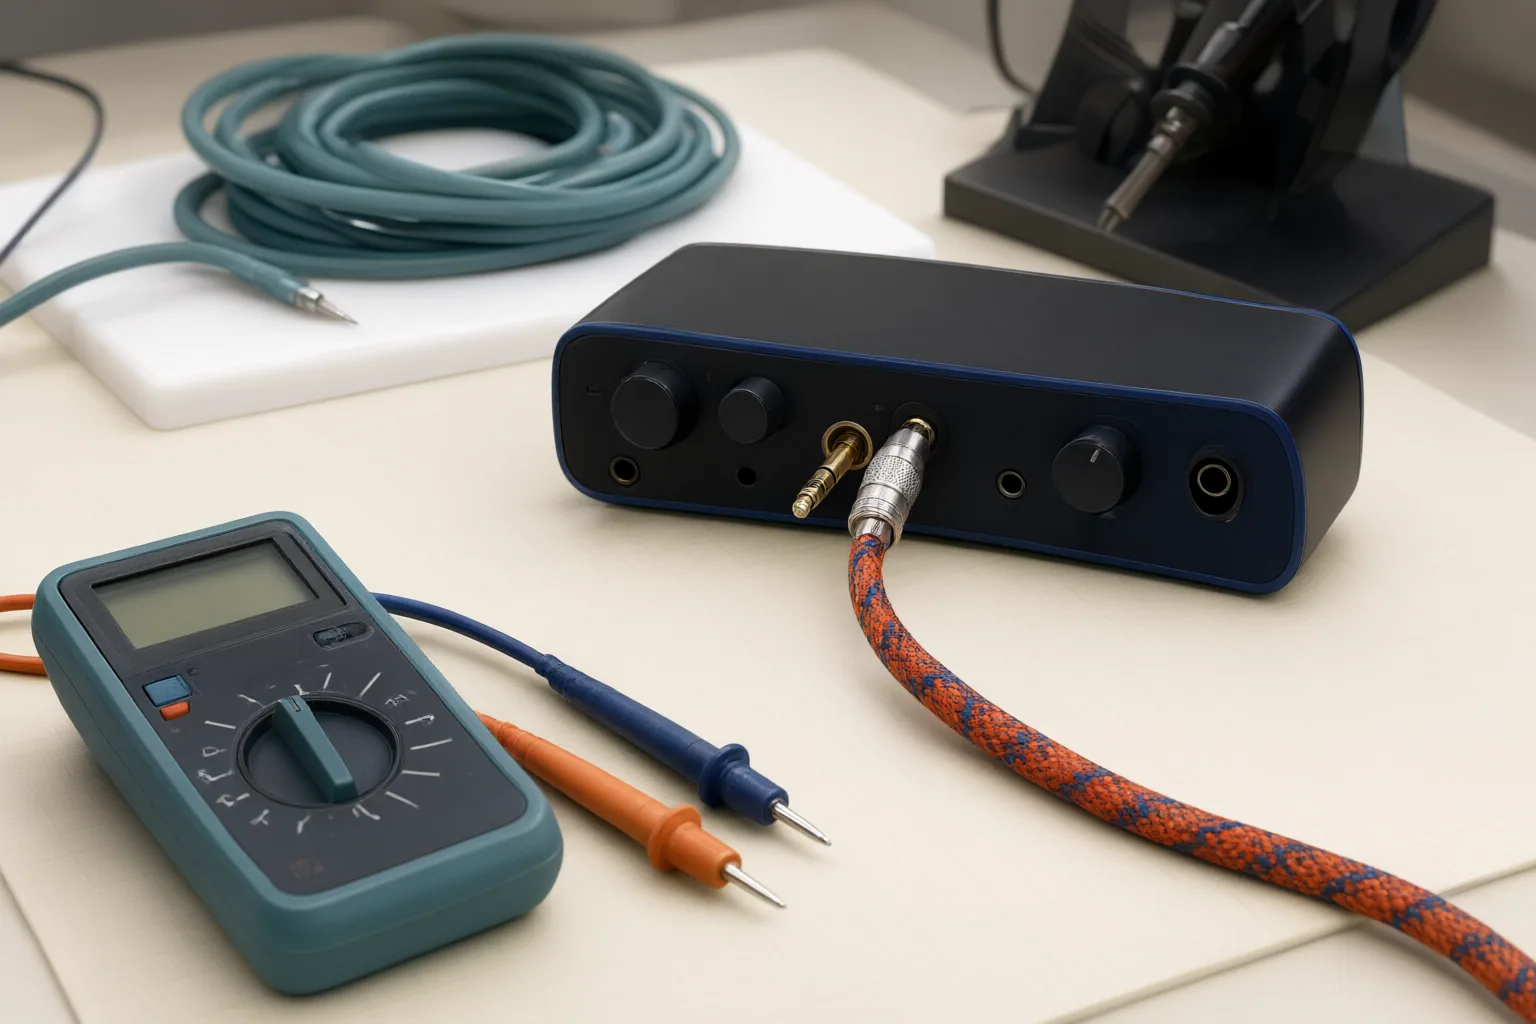
Open the Windows audio controls and verify that the intended playback device is selected. With multiple audio devices attached, sound can be directed to an output other than the one you expect. Also check whether the relevant device is disabled and review its device-specific volume setting.
Follow the signal path physically. Confirm that cables are seated in the intended ports, connected equipment has power, and no hardware or software control is muted. Review the volume controls on Windows and on the connected devices. Loose connections, incorrect jacks, mute states, disabled outputs, and separate volume controls can create overlapping symptoms, so record what happens after each change instead of changing several controls together.
If those checks do not resolve the problem, disable audio enhancements as a diagnostic step. Microsoft notes that enhancements can sometimes cause audio problems. A change after disabling them points toward the Windows processing side of the setup; no change means you should continue checking the connections and analog path rather than treating enhancements as the confirmed cause.
Investigate Analog Interference and Cable Balance
When Windows settings and basic connections appear correct, examine the analog part of the signal path. Focusrite explains that electromagnetic fields from nearby equipment can induce audible hum or buzz in cables carrying analog audio. This means noise can remain even when the computer is using the expected output and its controls look correct.
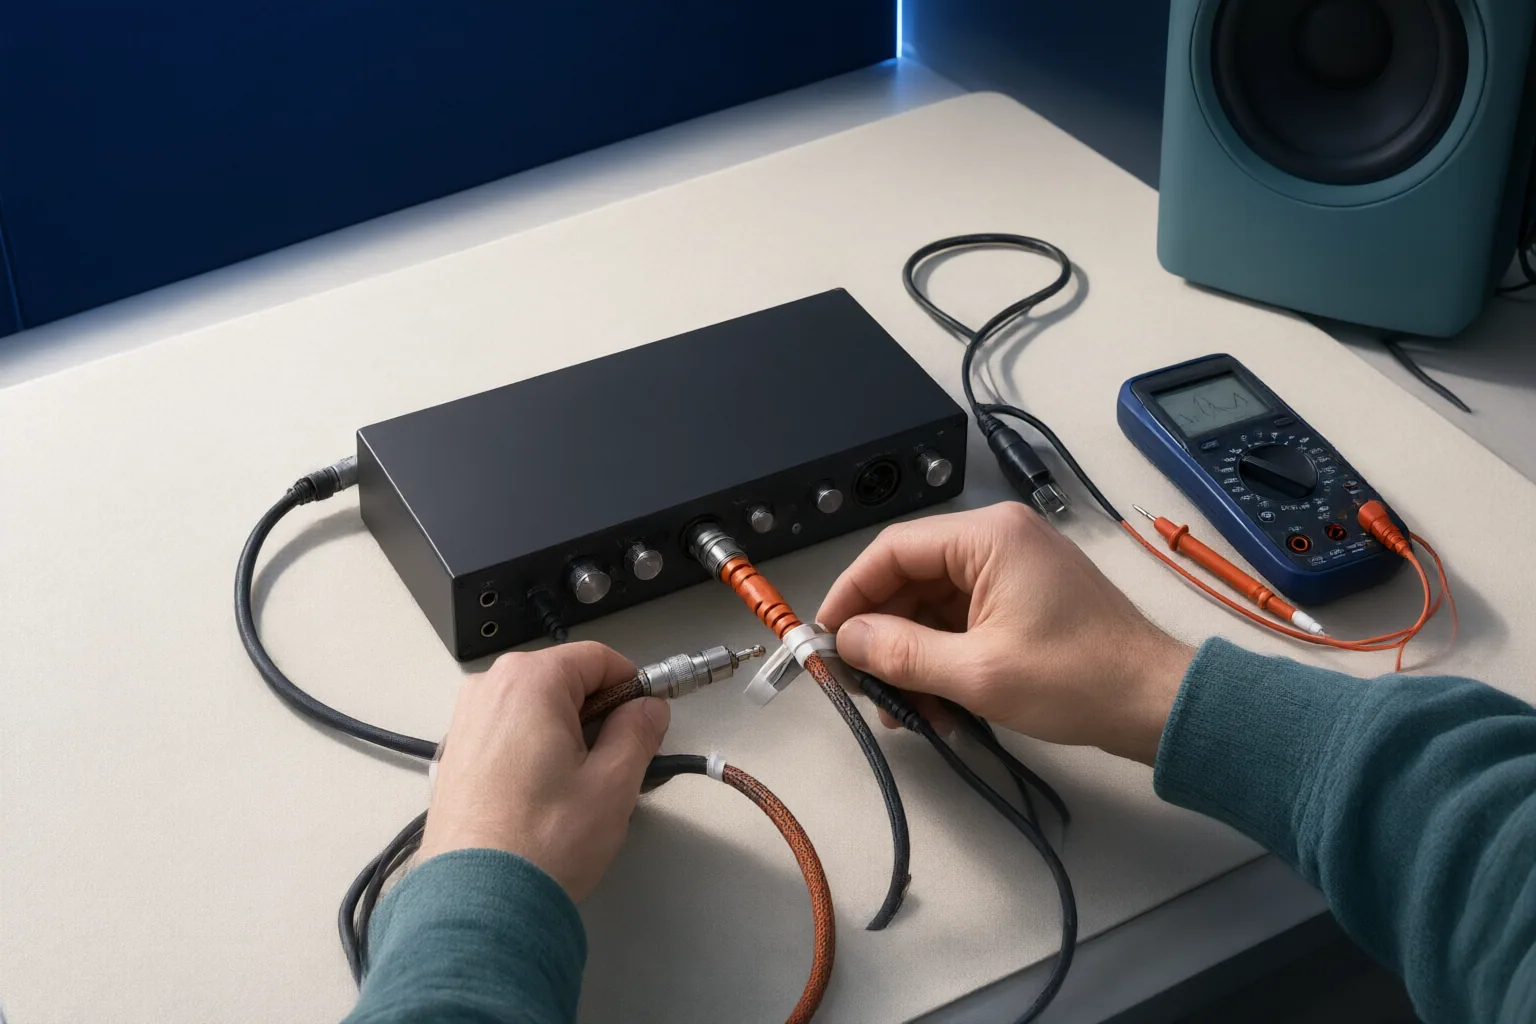
Inspect how analog audio cables are placed and routed relative to nearby equipment, including power supplies and other potential electromagnetic-field sources. Change the routing of one cable at a time and note whether the noise changes. Sensible placement and routing can reduce interference, although a routing change alone does not establish the cause of every noise problem.
Also determine whether the relevant analog connection is balanced throughout. In a fully balanced connection, the two signal conductors can cancel interference picked up along the cable. Focusrite distinguishes quarter-inch TRS connectors, which can be used for balanced connections, from unbalanced TS connectors. However, connector appearance is not enough to establish that the entire path is balanced. The balancing benefit depends on the relevant connection remaining balanced throughout, including the connected equipment and cable path.
Conclusion
Use a consistent order: confirm the intended Windows output, then check cables, ports, power, mute states, volume controls, and audio enhancements. If the noise remains, examine analog cable routing, nearby electromagnetic sources, and whether the relevant connection is balanced from end to end.
These checks isolate possibilities rather than provide a universal diagnosis. Test one variable at a time and document the result. Start with the Windows output and physical connections, then reroute one analog cable or verify one balanced connection and record whether the hum or buzz changes.
Disclosures and limitations
- This article was prepared with AI assistance from the supplied Microsoft and Focusrite source material; its claims are limited to the evidence associated with the listed source IDs.
- No products are recommended, and no affiliate relationship is represented.
Related reading
- Publication Standards and Editorial Scope
- DI in an Audio Signal Chain: What a DI Box Does and Where It Connects
Sources
- Article Detail — service.shure.com
- System Science – Part 3: Analogue Connections — Focusrite
- Audio – Wikipedia — en.wikipedia.org
- Fix sound or audio problems in Windows | Microsoft Support — support.microsoft.com