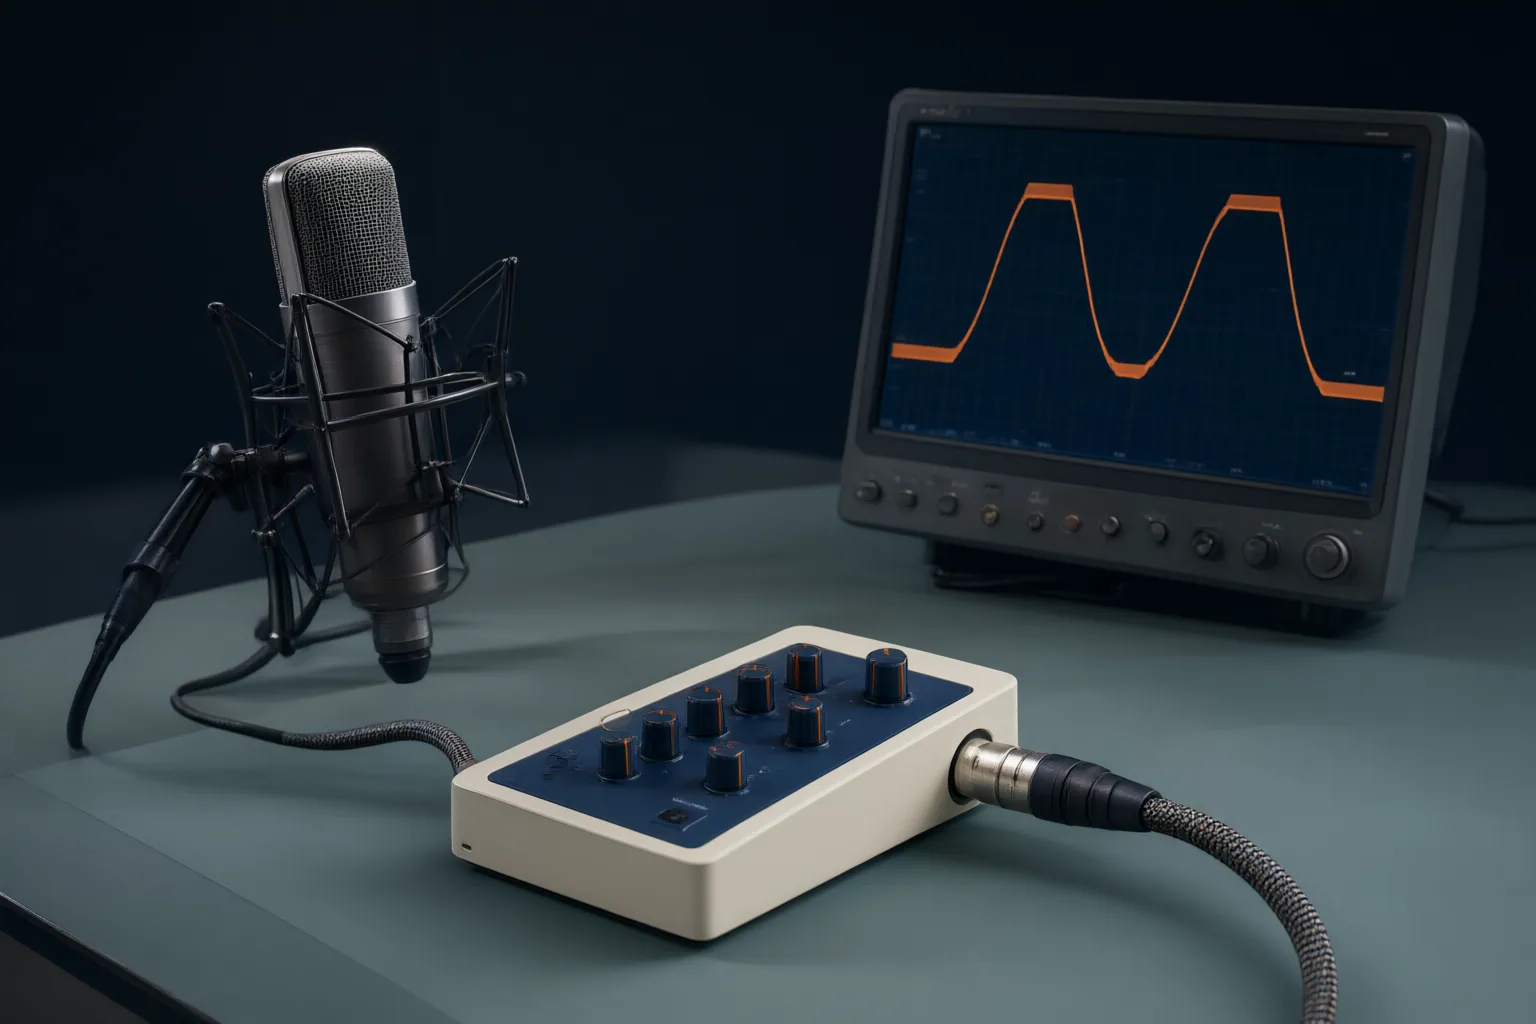
Digital audio clipping happens when a recording signal exceeds the system’s upper level limit, cutting off waveform peaks and producing distortion. A careful sound check, moderate gain, and enough headroom for unexpected peaks can reduce the risk.
What Digital Audio Clipping Means
Digital systems represent information with discrete values; in digital audio, a sampled analog signal becomes a sequence of such values. That representation has an upper recording level limit.
According to BOYA’s explanation, digital clipping occurs when the incoming signal exceeds the analog-to-digital converter’s ceiling of 0 dBFS. The converter cannot represent the portion above that limit, so the waveform’s peaks are cut off rather than captured as intended. The resulting recording may sound harsh or distorted when played back.
The essential distinction is between a strong signal that remains within the available range and one that crosses the ceiling. Making a signal louder is therefore not automatically an improvement: once it exceeds the system’s upper limit, the unavailable peak information cannot be recorded normally. The detailed account here comes from a microphone manufacturer and should be understood as attributed technical guidance rather than independent product evidence.
Why a Recording Clips
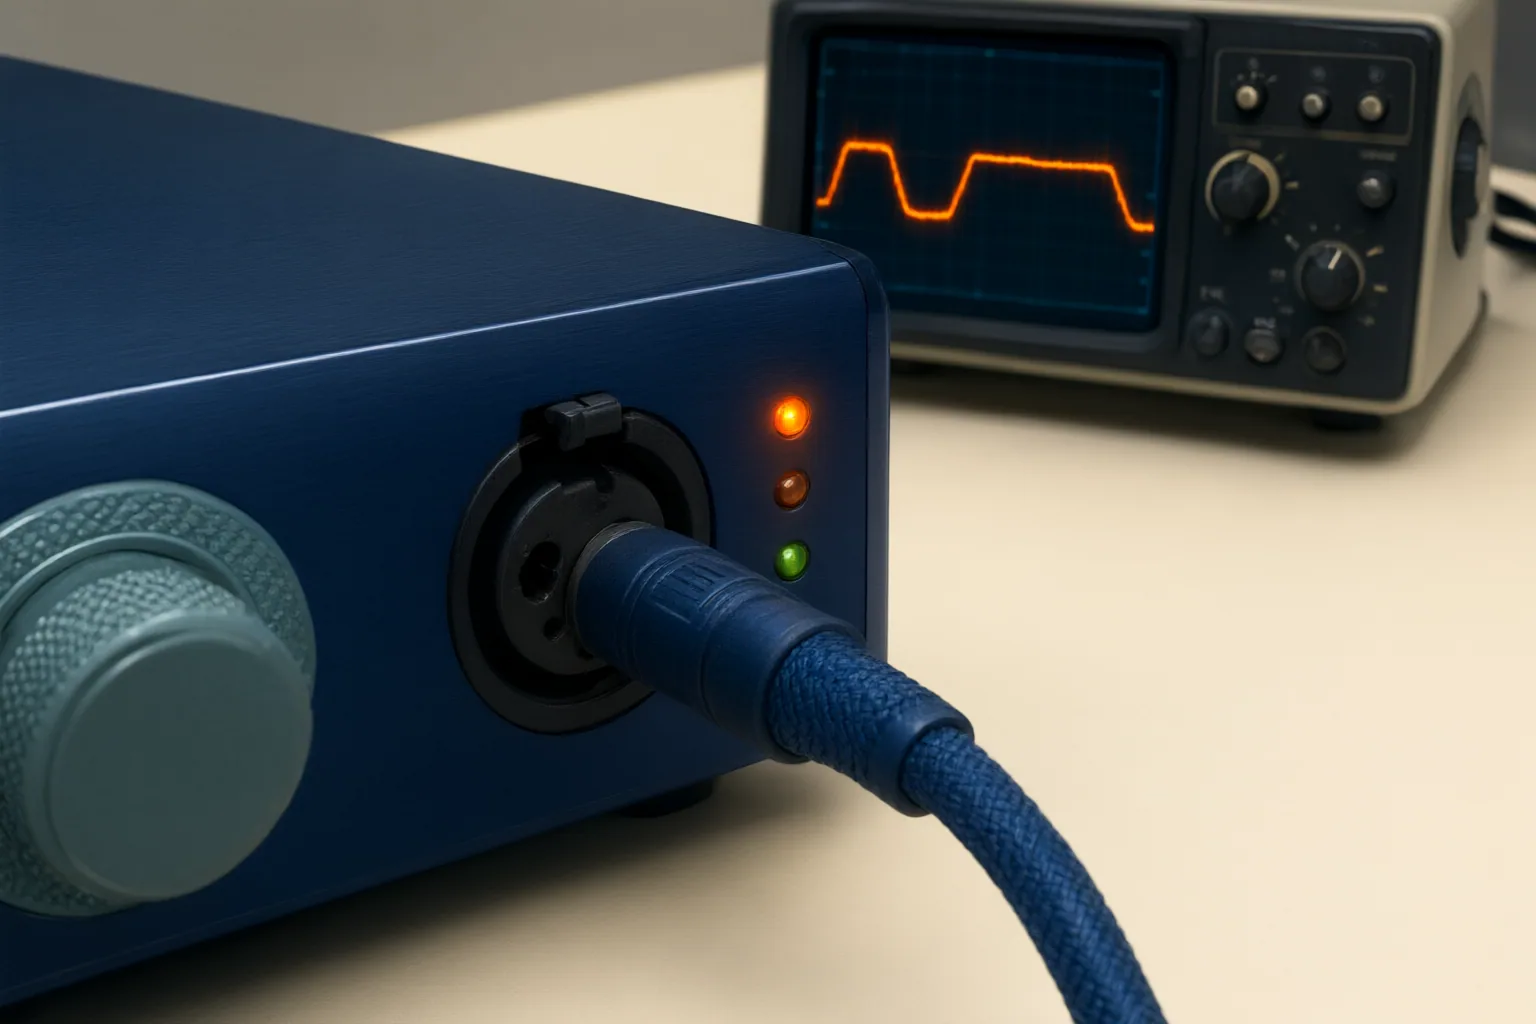
BOYA identifies excessive gain, unexpectedly loud or close sound sources, and overload at the analog-to-digital converter as causes of clipping. These factors often interact. Raising microphone gain increases the signal level entering the recording path, while moving a source closer or performing more loudly can create a stronger input than the chosen setting can accommodate.
This is why a level that appears adequate during quiet speech or a restrained rehearsal may fail during the actual take. A sudden laugh, a loud vocal note, or a forceful instrumental passage can produce an unexpected peak. If that peak pushes the converter beyond 0 dBFS, clipping occurs.
Beginners may assume that more microphone gain necessarily means better sound. The supplied material does not support that assumption: excessive gain instead reduces the space available for louder moments. Clipping may not become obvious until playback, when an otherwise useful performance reveals harsh distortion. Gain should consequently be chosen for the source’s expected range, not simply raised as far as possible.
How to Prevent Clipping While Recording
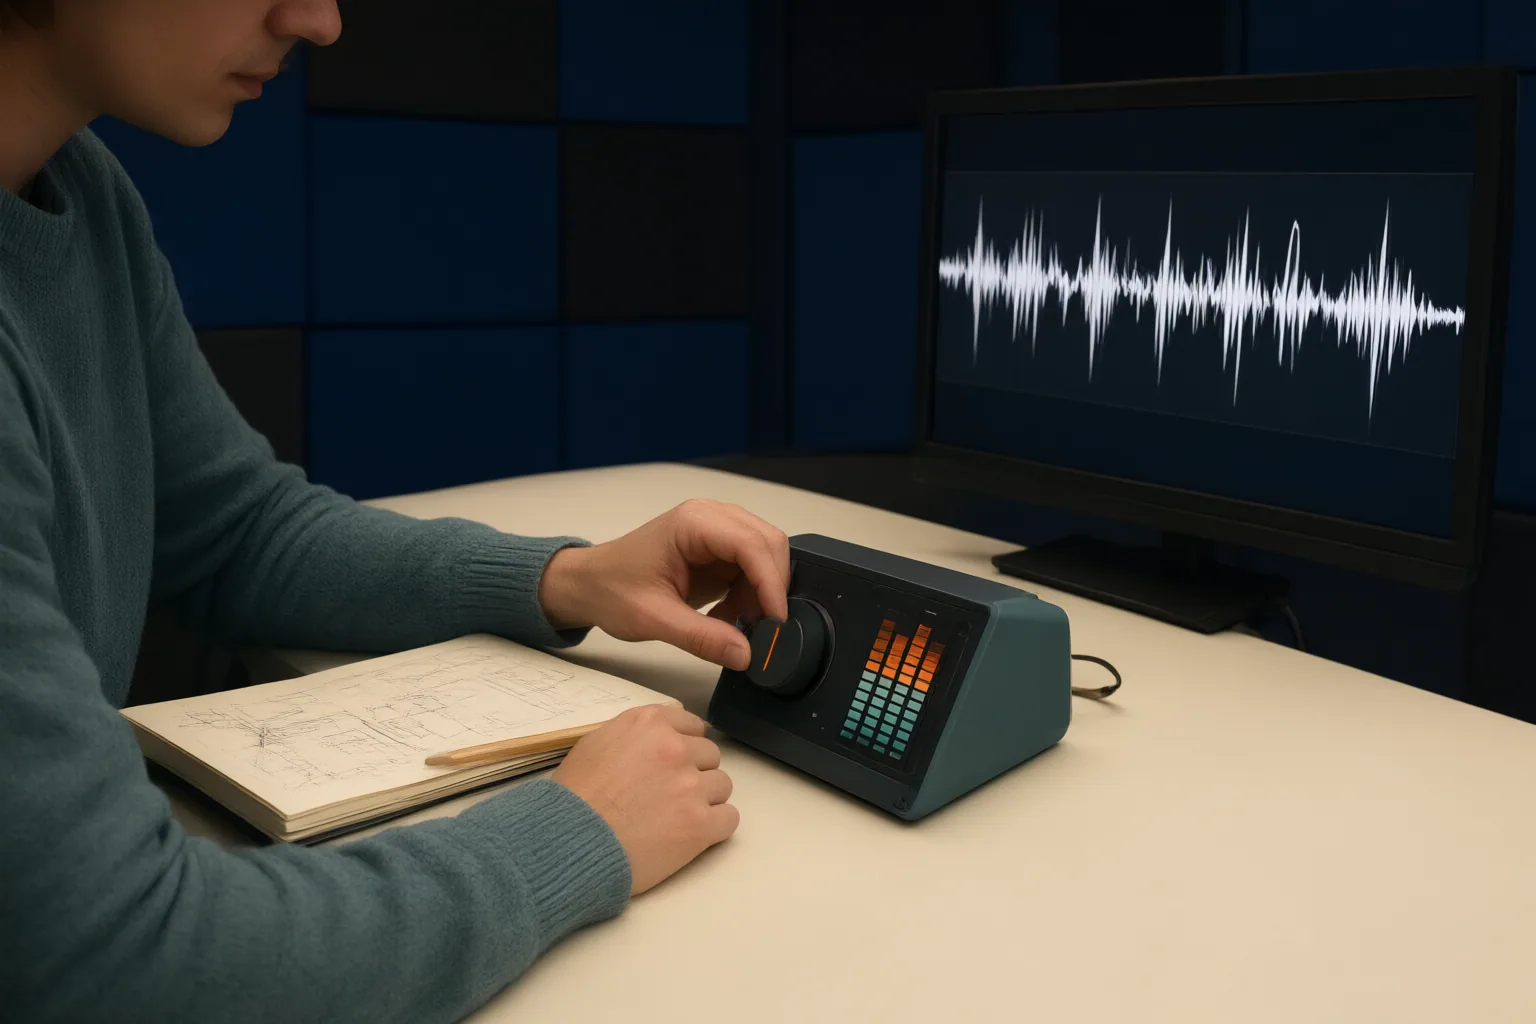
Start with a sound check before the take. Ask for, or perform, the loudest passage reasonably expected during the recording rather than checking only an average or quiet section. Watch how the recording level responds. If the signal approaches the system’s ceiling during that test, reduce excessive gain.
Next, preserve headroom: leave unused level range between expected peaks and 0 dBFS. That margin gives a surprise—such as a louder note, laugh, or closer movement toward the microphone—more room before it overloads the converter. The supplied source recommends headroom but does not establish a universal numerical target, so the appropriate margin should not be reduced to an unsupported fixed setting.
BOYA also presents limiters and lower-gain safety tracks as additional safeguards. A limiter can help manage sudden level spikes, while a safety track records an additional version at lower gain. These measures complement careful level setting; the supplied evidence does not establish that either safeguard can reverse clipping already created at an overloaded converter stage.
A practical sequence is straightforward:
- Arrange the source and microphone for the intended recording.
- Check the loudest expected passage.
- Lower excessive gain if peaks crowd the upper limit.
- Confirm that headroom remains for surprises.
- Where the recorder supports them, consider a limiter or lower-gain safety track as another layer of protection.
Conclusion
Digital clipping is a level-management problem: a signal crosses the recording system’s 0 dBFS ceiling, and its waveform peaks are cut off. Excessive gain makes that outcome more likely, while unexpectedly loud or close sources can defeat settings chosen during an unrepresentative check.
Prevention begins before recording. Treat the loudest likely moment—not the quietest—as the important test, then set gain low enough to retain headroom. Limiters and lower-gain safety tracks can add protection against sudden spikes, but they do not replace a realistic sound check and sensible gain setting.
Before your next recording, test the loudest expected sound, reduce excessive gain, and confirm that enough headroom remains for an unexpected peak.
Disclosures and limitations
- This article was prepared with AI assistance using only the supplied research package. Its detailed clipping guidance is attributed to a microphone manufacturer, while the terminology source supports only basic digital-signal concepts.
- No products are recommended in this article, and no affiliate relationship is asserted. Manufacturer material may contain promotional claims, which were not used as independent product evidence.
Related reading
Sources
- Article Detail — service.shure.com
- Digital – Wikipedia — en.m.wikipedia.org
- Digital Clipping: The Ultimate Guide to Prevention & 32-Bit Float — boyamic.com
- Client Challenge — soundonsound.com