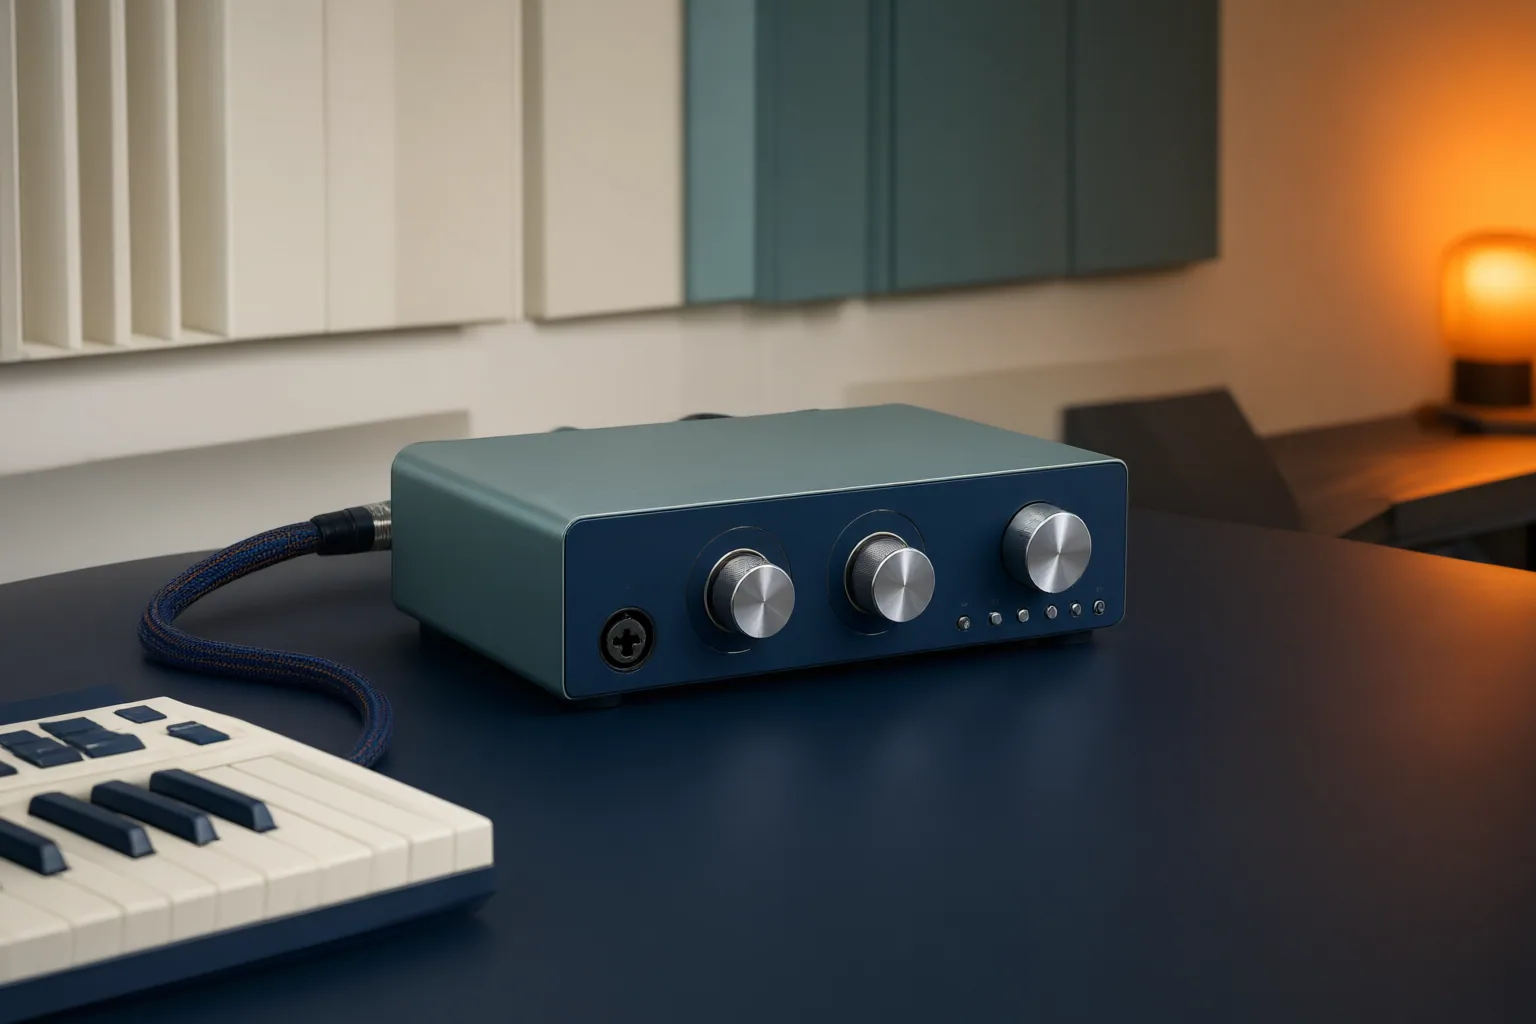
The best audio interface for a home studio is the one that fits your actual recording workflow. Start with the sources you must capture simultaneously, then compare monitoring, computer compatibility, MIDI, power, software, and expansion—not promotional feature counts.
Start With What and How You Record
An audio interface links microphones and instruments to a computer. It amplifies incoming signals, converts analog audio into digital data, and returns playback to headphones or studio monitors.
Begin by listing what you will record at the same time—not every instrument you own. One or two inputs can suit many solo workflows, such as recording one microphone and one instrument. A stereo instrument paired with a vocal microphone already needs more than two simultaneous channels, while drums, bands, and multi-microphone sessions generally require still more. Buying around simultaneous use can prevent unnecessary expense and desk clutter without leaving a real session short of connections.
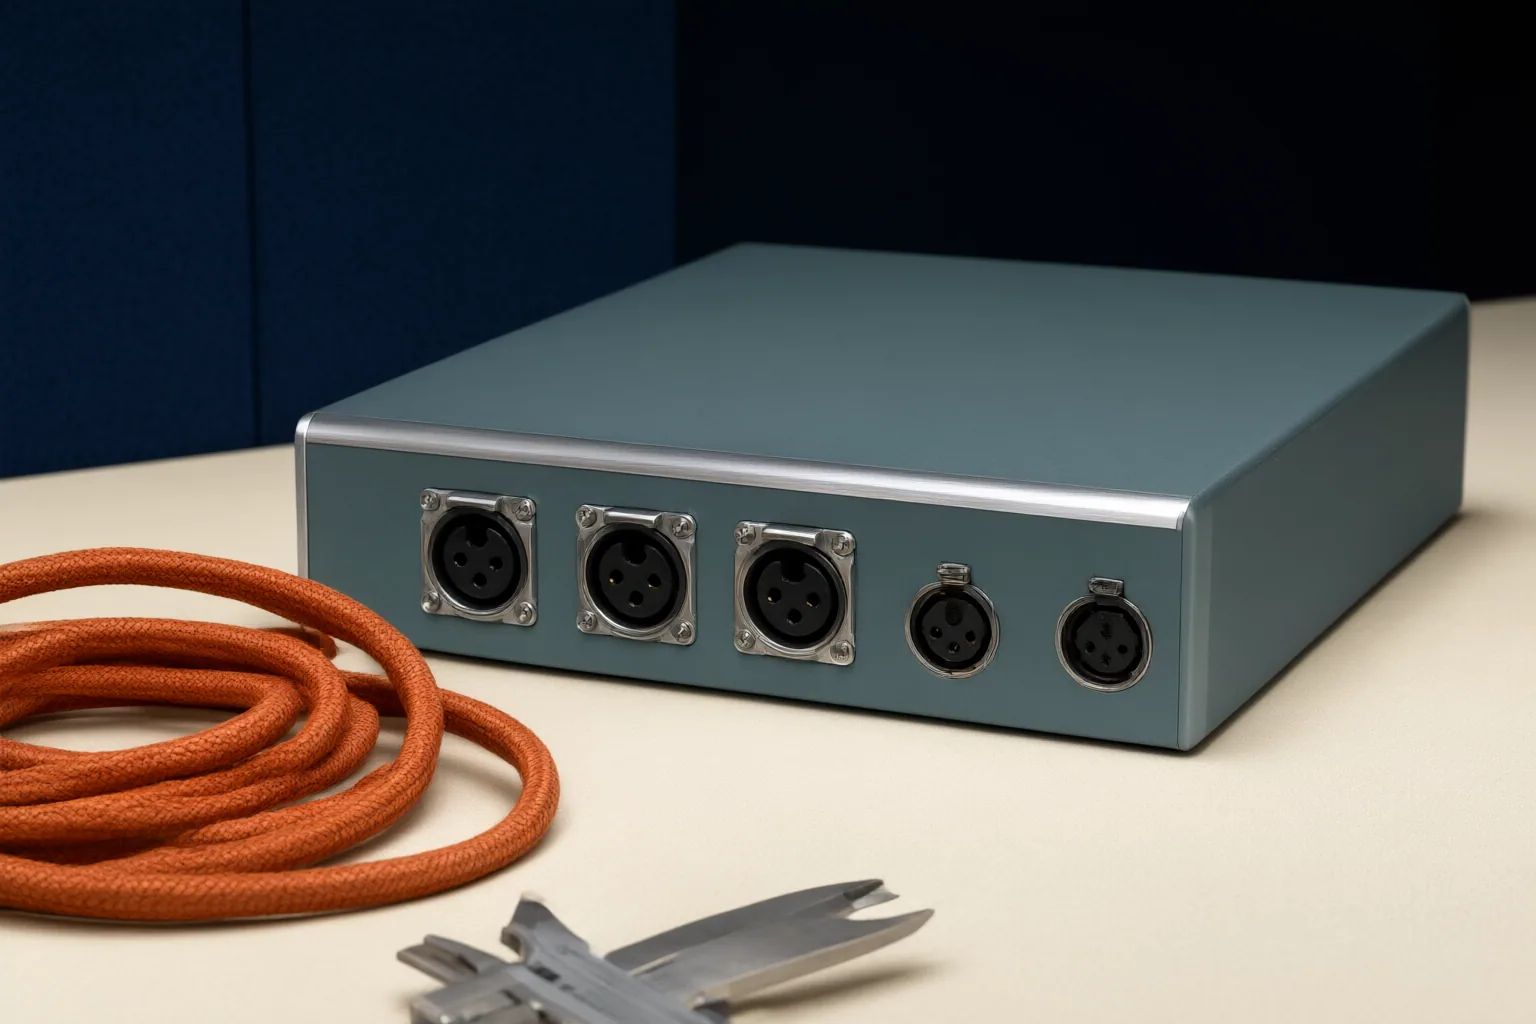
Read input specifications carefully. The advertised input total may include connections that do not have microphone preamps. Likewise, a combo socket accepts different plug types within a single channel; it is not two independently recordable channels. Compare the number and type of usable channels with your microphone, instrument, and line-level sources, and leave room for expansion only when your likely workflow justifies it.
Check Monitoring, Headphones, and Recording Delay
Monitoring can matter as much as the input list. A distracting delay between performing and hearing the result can make singing or playing difficult. Driver performance affects this experience, so headline specifications alone do not establish how well an interface will suit a particular computer and recording setup.
Direct monitoring can route an incoming signal to headphones or monitors inside the interface, avoiding the complete trip through recording software. Check how the feature is controlled and what routing it permits. A simple direct-monitor switch may be sufficient for a solo performer, while a performer and recording engineer may require separate balances.
Do not assume that two headphone sockets provide two independent cue mixes. They may reproduce the same mix. If different listeners need different balances, verify that the interface and its routing software explicitly support independent mixes. Consider the complete path—inputs, software monitoring, direct monitoring, outputs, and headphone routing—rather than treating latency as a single published number.
Match Connectivity and Features to Your Setup
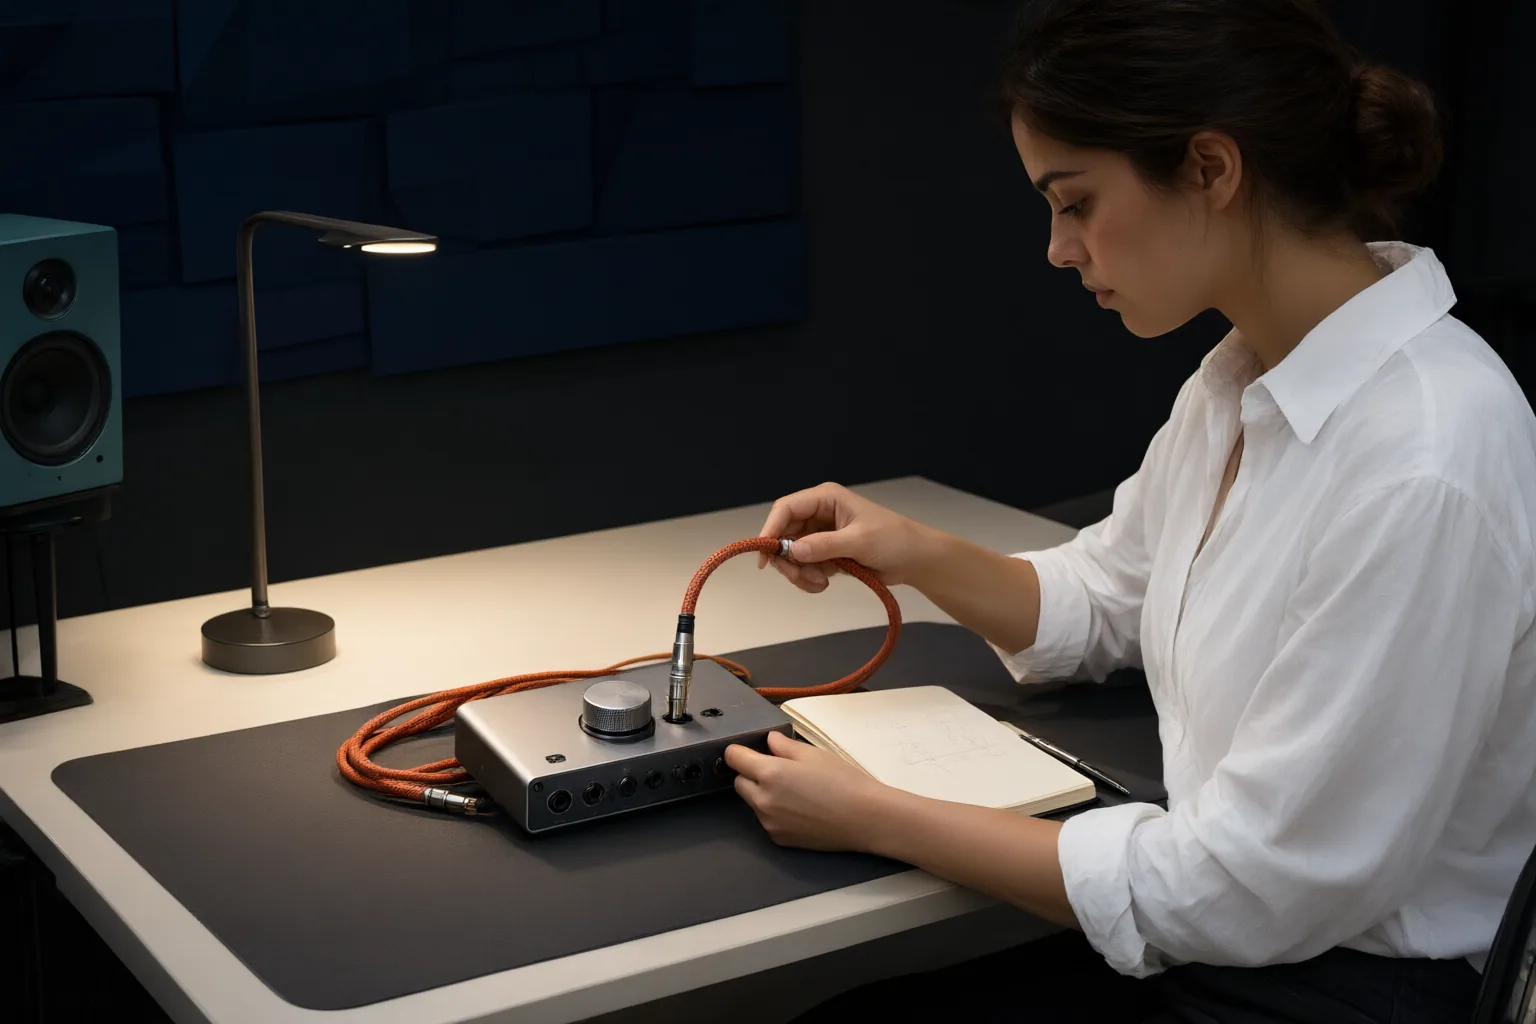
Confirm that the interface works with your computer’s operating system and available ports. USB-C describes a connector shape; it does not guarantee a particular transfer speed. Check current driver support, power requirements, port compatibility, and whether the included cable matches your computer.
Hardware synthesizers and drum machines may make five-pin MIDI useful, but MIDI carries performance and control messages—not the instrument’s sound. Recording that sound still requires suitable audio cables and interface inputs. A USB controller may not require five-pin MIDI at all, so buy it only when the devices and workflow call for it.
Phantom power is for microphones and other devices designed to receive it through an XLR connection. It is not additional gain, and it should be enabled only as directed by the microphone and interface documentation.
Finally, compare included software with the tools you already own or expect to use. A bundle can help a beginner, but duplicated software may add little value. Apply the same test to extra connections and expansion features: pay for them when they solve a foreseeable recording need, not simply because the specification looks larger.
Conclusion
Choose by requirements in this order: simultaneous inputs and microphone preamps, monitoring and cue-mix needs, computer and driver compatibility, then useful MIDI, power, software, and expansion features. At the home-studio level, a higher price may primarily buy more connections or capabilities rather than guarantee a large improvement in sound.
Before purchasing, verify the current model generation, specifications, operating-system support, power needs, included cable, availability, and price using manufacturer documentation and current retailer listings. Make a short checklist of every source you will record simultaneously, the monitoring and MIDI connections you need, and your computer ports; reject any interface that does not satisfy those essentials.
Disclosures and limitations
- This guide was prepared with AI assistance from the supplied research package. Material claims were synthesized from the cited source IDs; no product was personally purchased, tested, used, or reviewed.
- This draft contains no model-specific recommendations. Any retailer or affiliate links added during publication should be clearly identified as potentially commission-bearing, and current specifications, support, availability, and prices should be independently verified.
Related reading
- Publication Standards and Editorial Scope
- How to Verify Units, Conversions, and Significant Figures in Technical Explanations
Sources
- 10 Best Audio Interface for Home Studio 2024: Ultimate Guide — Music Production Nerds
- Best budget audio interfaces 2026: Cheap USB interfaces for home recording, streaming, podcasting, and more — MusicRadar
- Best Audio Interface for Home Studio | Stoodio — Stoodio
- Best Audio Interfaces for Home Recording: Choose by Signal Path — consordini.com
- Home recording studio — Ampedstudio